
What a Mouse DPI Test Measures
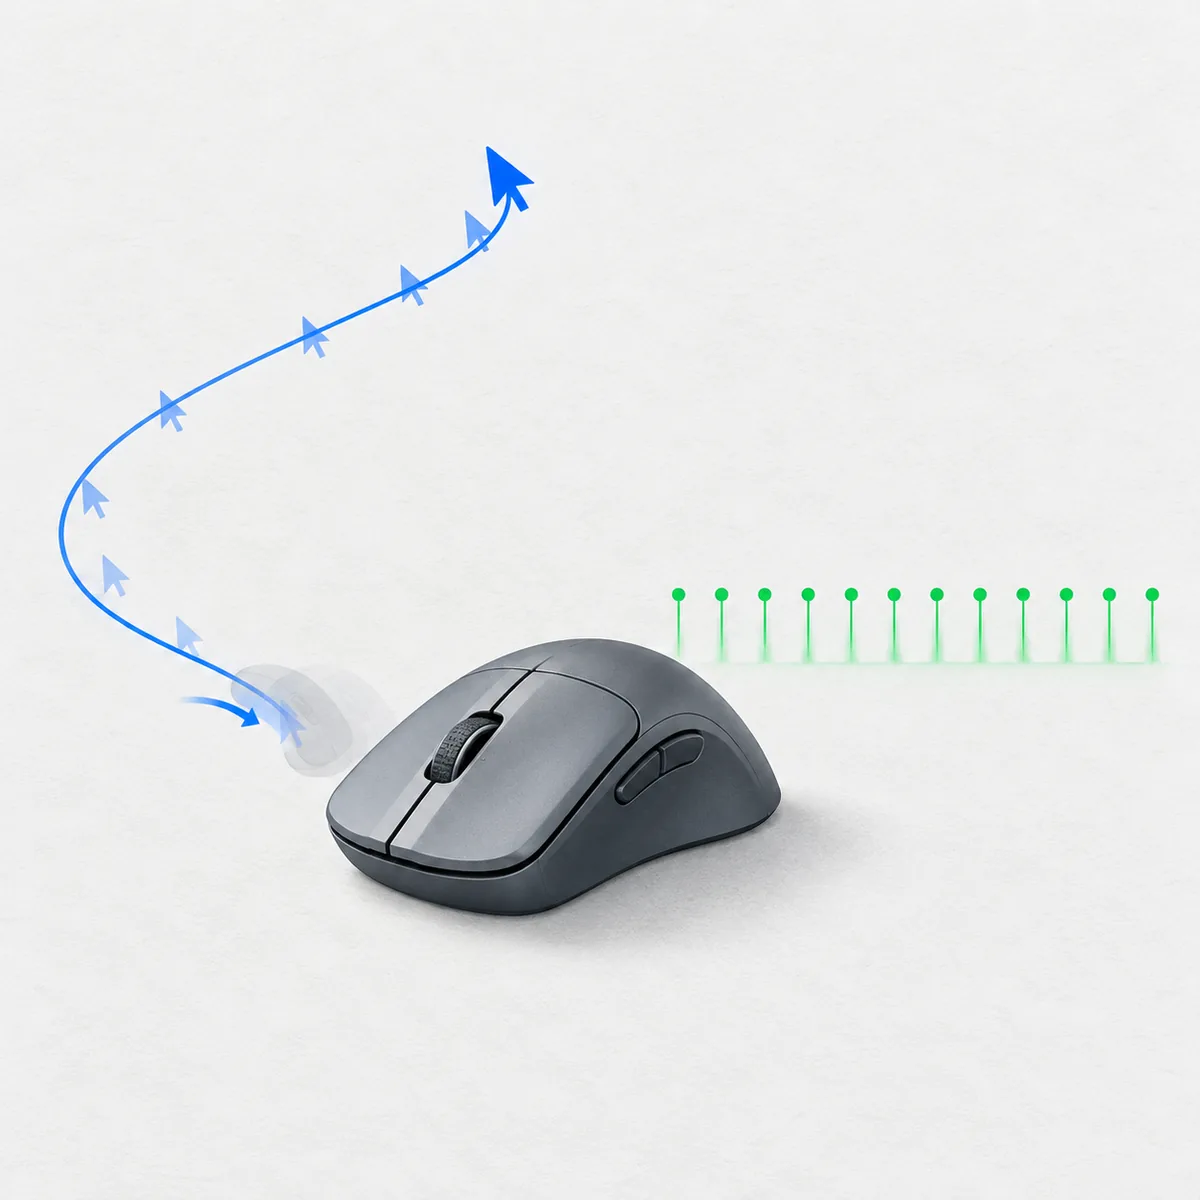
A mouse DPI test checks the relationship between physical movement and the pointer movement delivered to a browser. DPI means dots per inch, although CPI (counts per inch) is often a more precise sensor term. If you move the mouse four inches and the test observes about 3,200 counts, the estimated setting is about 800 DPI.
The useful result is a repeatable estimate, not a laboratory certification. It can help you check whether a software profile is active, compare two DPI presets, or discover an unknown setting on a mouse without a clear utility. The test cannot inspect the sensor firmware, USB report descriptor, wireless packets, or a game's own sensitivity scale, so the page should label the output as measured or estimated DPI.
- Use a physical distance that you can reproduce, such as 5 or 10 cm.
- Keep the same surface, connection mode, browser zoom, and pointer settings between runs.
- Treat the average of several runs as more useful than one unusually high or low reading.
DPI, CPI, Sensitivity, and eDPI Are Different
DPI describes how many movement counts are produced per inch before software scaling. CPI is a sensor-oriented name for the same type of count. Windows pointer speed, acceleration, application sensitivity, and raw-input settings can change how those counts become cursor or camera movement. That is why a mouse can have a known hardware setting while a game still feels faster or slower.
eDPI is another layer: many games calculate it as mouse DPI multiplied by in-game sensitivity. For example, 800 DPI at sensitivity 1.0 and 1,600 DPI at sensitivity 0.5 have the same simple eDPI in that game's scale. eDPI is not a universal unit across games, and it does not replace a physical mouse DPI test.
The Mouse DPI Formula
The basic formula is estimated DPI = counts or pixels moved divided by physical distance in inches. If the test records 2,400 counts over 3 inches, the estimate is 800 DPI. When you measure in centimeters, convert the distance first: inches = centimeters / 2.54. A 10 cm movement is about 3.937 inches, so 3,150 counts over that distance is roughly 800 DPI.
The formula is simple, but the inputs need consistent units. Do not mix a centimeter distance with an inch label, and do not change the browser zoom halfway through a run. Some tools report CSS pixels rather than raw sensor counts; that is still useful for comparison when display scaling and pointer acceleration are controlled, but it should not be presented as a direct USB reading.
How to Test Mouse DPI With a Ruler
A ruler-based mouse DPI test is more repeatable than guessing from a cursor swipe. Place the ruler beside the mouse so the starting and ending marks are visible. Use a desktop browser, close heavy background work, and set the browser zoom to 100 percent unless the tool specifically documents another calibration. A straight horizontal movement is easier to repeat than a curved path.
Start at the chosen mark, begin the measurement, and move the mouse until the pointer or test marker reaches the target distance. Stop cleanly, record the displayed DPI and distance, then reset the test. Repeat in the same direction and then repeat in the opposite direction if the tool supports it. Three to five runs make it easier to spot a missed start, an accidental lift, or a movement that crossed the target at an angle.
- Choose 5 cm, 10 cm, or another distance that fits comfortably on the pad.
- Keep the mouse flat and avoid lifting it before the target mark.
- Move at a steady pace; speed is less important than starting and stopping at the measured marks.
- Write down the distance, reported value, browser, surface, and any pointer acceleration setting.
Repeat the Test and Read the Result
A good measurement is a cluster, not a single perfect-looking number. Suppose three 10 cm runs produce 786, 804, and 797 DPI. Their average is about 796 DPI, which is close to an 800 DPI profile. The spread is small enough to suggest a stable setup, while a sequence such as 650, 910, and 790 points to inconsistent movement, calibration, acceleration, or an input problem.
Compare runs using the same distance and direction. If you change from 5 cm to 10 cm, the larger run usually gives more counts and can reduce the effect of a small start error, but it also needs more desk space. Report the average and the range together when sharing a result. A range of 790–805 DPI tells another person more than a lone claim of 800 DPI.
- Average the valid runs after removing only a clearly interrupted run.
- Keep an outlier in your notes and explain why it was excluded.
- Use the same DPI profile when comparing surfaces, grips, or game settings.
Why Your Measured DPI Can Differ From the Label
A measured value can differ from the number in a mouse utility because the test observes a complete input path. Sensor tolerances, firmware steps, lift-off behavior, pointer acceleration, Windows scaling, browser zoom, display scaling, and the physical surface can all change the visible movement. A wireless receiver, USB hub, or a low battery can add inconsistency even when the selected DPI profile has not changed.
A browser page also works with pointer events and CSS coordinates rather than a direct hardware trace. If the page or operating system coalesces events, the displayed count may be an effective value. That does not make the test useless: repeatable differences can reveal that two profiles or surfaces behave differently. It does mean the result should not be used as proof of sensor specifications or as a warranty claim by itself.
- Confirm the browser is at 100 percent zoom and disable pointer acceleration while comparing runs.
- Try a clean mouse pad, a direct USB port, and a charged wireless mouse.
- Check the manufacturer's utility for the active profile, but use the physical test to verify behavior.
- If the spread remains large, repeat on another current desktop browser or computer.
DPI, Game Sensitivity, and Polling Rate
DPI changes the movement scale; game sensitivity multiplies that input inside a particular title; polling rate changes how often the mouse reports updates. If a swipe turns too far, adjust DPI or sensitivity. If the distance feels right but you are checking timing or smoothness, compare polling rate separately. Changing all three at once makes a DPI test difficult to interpret.
A higher DPI or polling rate is not automatically better. Higher DPI can make small hand movement cover more screen distance, while a higher polling rate can increase system work or wireless battery use. Use the mouse DPI test to establish a repeatable movement baseline, then use the site's polling rate test for browser event timing.
Privacy, Browser Limits, and Good Test Practice
A ruler-based DPI guide does not need an account, a file upload, or a mouse trajectory sent to a server. The arithmetic can be performed locally in the browser. Avoid pasting a result into a page that asks for unnecessary device data, and do not treat a third-party score as a security or hardware certification.
For a useful comparison, change one variable at a time and keep a short record of the date, mouse profile, distance, surface, browser, and result range. If the value is unexpectedly different, first repeat the measurement under matched conditions. Then check the mouse utility, operating-system settings, receiver position, cable or port, and firmware. This sequence separates a measurement error from a real configuration change without promising laboratory precision.
Mouse DPI Test Inputs at a Glance
The result depends on three inputs: how far the mouse moves, how much movement the page observes, and whether software changes that movement before it reaches the browser.
| Input | What to keep consistent | Why it matters |
|---|---|---|
| Physical distance | Use a ruler and repeat the same 5 or 10 cm target | A longer, measured run reduces small start errors |
| Observed movement | Record the page's pixels or counts | CSS pixels are an effective browser value, not a USB trace |
| Pointer settings | Keep zoom, acceleration, and scaling unchanged | Software can change visible movement before the page sees it |
| Test conditions | Use the same surface, port, profile, and direction | Matched runs make differences easier to interpret |
| Repeated runs | Average three or more valid measurements | The range shows stability better than one value |
A Repeatable Mouse DPI Test Workflow
Use this five-step workflow when you want a result you can compare later. The goal is controlled measurement, not a race across the mouse pad. Record enough context that another run can reproduce the same conditions.
If your mouse has several hardware profiles, test one profile at a time. Do not press the DPI switch during a measurement, and reset the page between runs so an old pointer position cannot affect the next result.
-
Select one profile
Choose the DPI profile you want to check and note the value shown by the mouse utility, if one is available. Keep the profile fixed during the test.
-
Measure the target
Place a ruler beside the pad and choose a distance that fits without lifting the mouse. Convert centimeters to inches when the tool's formula uses inches.
-
Run one straight pass
Start at the marked position, move steadily to the target, and stop without overshooting. Record the displayed result and any warning about zoom or calibration.
-
Repeat in matched conditions
Reset and repeat at least three times. Keep the same direction first, then test the reverse direction if you want to check surface or hand bias.
-
Average and troubleshoot
Calculate the average and range, then investigate large differences by checking acceleration, browser zoom, surface, connection, and active profile one at a time.
Mouse DPI Test FAQ
How do I test my mouse DPI without software?
Use a ruler-based mouse DPI test. Measure a known distance, move the mouse that distance while the page records movement, divide the observed counts or pixels by the distance in inches, and repeat the run several times.
What distance should I use for a mouse DPI test?
Five or ten centimeters is a practical starting point. Use the longest distance that fits comfortably on your pad and can be repeated without lifting the mouse. A longer run can reduce the effect of a small start error.
Why is my measured DPI not exactly 800 or 1600?
The page sees an effective input path that can be changed by sensor tolerance, pointer acceleration, browser zoom, display scaling, surface, firmware, and event processing. Compare the average and range of repeated runs instead of expecting one exact integer.
Is DPI the same as sensitivity?
No. DPI is a sensor setting, while sensitivity is a software multiplier in the operating system or a game. A game may also show eDPI, usually DPI multiplied by in-game sensitivity, but that value is game-specific.
Can a browser measure true hardware DPI?
A browser can estimate movement delivered to the page, but it cannot directly read the sensor firmware or USB report stream. Use the result for calibration and comparison, not as a hardware certification.
Should I test DPI at 100 percent browser zoom?
Yes, unless the chosen test documents a different calibration. Keeping zoom and display scaling unchanged makes CSS-pixel comparisons more repeatable and makes it easier to explain a difference between runs.
How many times should I repeat the test?
Run at least three valid passes and report the average plus the range. Five passes are useful when you are checking a new surface, a wireless setup, or a large difference from the advertised profile.
Where can I compare polling rate separately?
Use the site's mouse polling rate test for browser-delivered movement event timing. DPI measures movement scale over a physical distance; polling rate measures how often updates arrive, so they answer different questions.
Technical References
- MDN Pointer EventsBackground on how browsers expose pointer input to a page.
- Microsoft mouse settings guidanceReference for operating-system pointer settings that can affect a comparison.